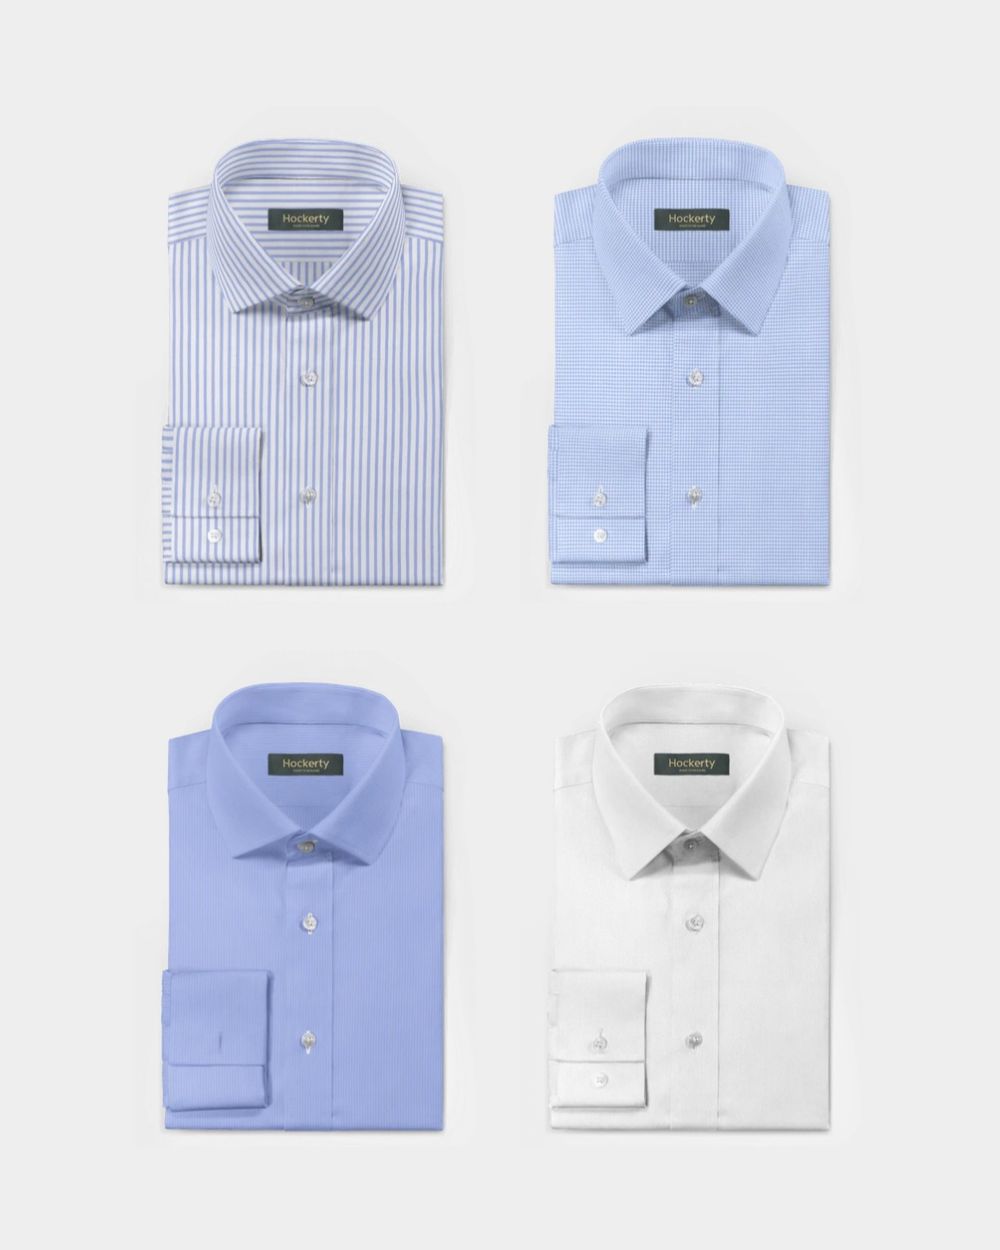
The Significance of a Well-Ironed Shirt
There’s something undeniably impressive about a crisply ironed dress shirt. Whether you’re stepping into a business meeting, attending a formal event, or just looking to elevate your everyday style, a well-ironed shirt can make a world of difference. Wrinkles and creases can detract from your overall appearance, giving off an impression of being unprepared or sloppy. On the other hand, a neatly pressed shirt conveys professionalism, attention to detail, and a sense of confidence.
Why a Crisply Ironed Shirt Enhances Your Look
Ironing a dress shirt is more than just a chore; it’s an essential grooming task that impacts how you’re perceived. A smooth, wrinkle-free shirt creates sharp lines and a polished silhouette, which can make you look more put-together. This attention to detail can boost your self-esteem and leave a lasting impression on others. Whether you’re aiming for a sophisticated look or simply want to feel your best, mastering the art of ironing is key.
Preparations: What You Need to Begin
Before you dive into ironing, preparation is crucial. Having the right tools and setting up your workspace properly will make the process more efficient and effective.
Essential Ironing Equipment for a Flawless Finish
To achieve a professional result, you'll need:
- Iron: A steam iron with adjustable temperature settings and steam output.
- Ironing Board: A sturdy, adjustable ironing board with a smooth, padded surface.
- Spray Bottle: Filled with clean water to dampen areas that need extra attention.
- Pressing Cloth: A thin cotton cloth to protect delicate fabrics.
- Hanger: To hang the shirt immediately after ironing to prevent new wrinkles.

Choosing the Right Water for Your Iron
Using the right water is crucial to avoid mineral buildup in your iron, which can lead to staining and reduced efficiency. Distilled water is ideal because it’s free from minerals that can clog the iron’s steam vents. If you don’t have distilled water, use tap water, but avoid hard water as it can leave residues.
Step-by-Step Ironing Process
With your tools and workspace ready, it’s time to begin ironing. Follow these steps to ensure each part of your shirt is crisp and smooth.
How to Iron the Collar and Shoulders Like a Pro
![]()
-
Start with the Collar: Begin by popping up the collar and ironing the underside first. Press from one end to the other, then flip it over and iron the outer side. This technique ensures a crisp collar that frames your face perfectly.
-
Move to the Shoulder Yoke: Lay the shoulder yoke (the fabric at the back of the collar, extending to the shoulders) flat on the narrow end of the ironing board. Iron from the center of the yoke out towards the shoulders. Smooth out any wrinkles as you go.
Correct Technique for Ironing Sleeves: Avoiding Unwanted Creases
Ironing sleeves can be tricky, as it’s easy to create unwanted creases. Here’s how to avoid them:
-
Flatten the Sleeve: Lay one sleeve flat on the ironing board, aligning the seams to ensure it’s straight.
-
Iron the Cuff: Start with the cuff, unbutton it and iron it flat on both sides. This gives a crisp finish to the end of the sleeve.
-
Iron the Sleeve: Begin at the cuff and work your way up towards the shoulder. If a crease forms, use your spray bottle to dampen the area slightly and iron it out. Flip the sleeve over and repeat on the other side.
-
Repeat for the Other Sleeve: Follow the same process for the second sleeve.
Tips for Ironing the Front and Placket: Paying Attention to Details
-
Iron the Placket First: The placket is the fabric that holds the buttons. Iron this section first, ensuring you don’t iron over the buttons, as this can leave marks. Iron between the buttons carefully.
-
Iron One Side of the Front: Lay one side of the front panel flat on the ironing board. Iron from the shoulder down to the hem, taking care to smooth out any wrinkles. Move in small sections to maintain control and precision.
-
Switch to the Other Side: Repeat the process on the other front panel, paying attention to the pocket (if any) and ensuring it is smooth and wrinkle-free.
Finishing with the Back: Techniques for a Pristine Result
-
Start at the Top: Begin ironing at the top of the back panel, just below the yoke.
-
Work Your Way Down: Gradually move downwards, ensuring even pressure and movement to avoid creating new wrinkles. If your shirt has pleats at the back, iron around them to keep their shape intact.
-
Smooth the Entire Shirt: Once the back is ironed, give the shirt a final once-over to ensure there are no lingering wrinkles.
Hang the perfectly ironed shirt
As soon as the ironing is finished, hang the shirt onto a proper hanger. Fold the collar in half, as if you were to wear it, and close the upper two buttons of the shirt. This will prevent the shirt from creasing in the wardrobe. Let the steam evaporate and your shirt cool down and put it in the wardrobe. Now it is ready for that perfect occasion!
Expert Tips for Effective Ironing
Even with the basics down, there are a few additional tips that can help you achieve a truly professional finish.
Keeping Your Iron in Prime Condition
Regular maintenance of your iron is essential for consistent performance. After every use, empty out any remaining water to prevent mineral deposits. Clean the soleplate regularly to remove any residue or build-up that could transfer onto your clothes. For steam irons, use a descaling solution periodically to keep the steam vents clear.
Pre-Ironing Shirt Check: What You Need to Know
Before you start ironing, check your shirt for any stains or spots. Ironing over a stain can set it permanently, making it much harder to remove later. Also, button up the shirt before you begin ironing to ensure it lays flat and stays in place.
The Advantages of Ironing the Shirt While Damp
Ironing a slightly damp shirt can make the process easier and more effective. The moisture helps smooth out wrinkles more quickly, reducing the time and effort required. If your shirt is already dry, use a spray bottle to lightly mist it before ironing.
Discovering Alternatives: Hockerty’s Non-Iron and Wrinkle-Resistant Shirts
No-iron and wrinkle-resistant shirts are treated with special finishes to keep them smooth and crisp throughout the day without the need for ironing. These shirts are perfect for busy professionals or anyone who values convenience without sacrificing style.
How to Save Time and Effort with Easy-Care Shirts
Easy-care shirts are designed to be low-maintenance. They typically require minimal ironing and can be worn straight from the dryer. Investing in a few easy-care shirts can save you time and effort, making your wardrobe easier to manage.
Storage Tips: Keeping Your Shirt Perfectly Ironed
After all your hard work ironing, the last thing you want is to ruin the finish by improper storage.
Hanging and Storage Techniques to Avoid Wrinkles
- Use the Right Hangers: Opt for wooden or padded hangers to maintain the shape of your shirts and prevent shoulder bumps.
- Button Up: Always button the top button before hanging your shirt to help it keep its shape.
- Give It Space: Don’t overcrowd your closet. Give your shirts enough space to hang freely, preventing them from being squished and wrinkled.
Enjoying Perfectly Ironed Shirts
By following these steps and tips, you can enjoy the satisfaction of a perfectly ironed shirt every time.
Recap: Key Takeaways for Successful Shirt Ironing
- Start with the collar and shoulders, then move to the sleeves, front, and back.
- Use the right equipment and keep your iron clean.
- Iron shirts while they’re slightly damp for best results.
- Consider easy-care and non-iron shirts for a hassle-free wardrobe.
- Store your shirts properly to maintain their crispness.
We hope we gave you clear instructions on how to iron a men’s dress shirt. Feel like ironing is too much hassle? Try Hockerty’s non-iron shirts. Their composition and construction will make them wrinkle-free after hanging them straight from the washing machine. Save time for your loved ones and hobbies and skip the ironing altogether!
If you prefer a visual guide, follow the steps in this video:


